| View previous topic :: View next topic |
| Author |
Message |
splitbusvanatic
Jedi Master

Joined: 08 Oct 2006
Posts: 330
Location: Co. Mayo, Ireland
|
 Posted: Thu Jun 26, 2014 12:07 pm Post subject: |
 |
|
Good going Ernie.
Massive update.
Keep it moving now. |
|
| Back to top |
|
 |
roverv8bay
Initiate Jedi

Joined: 14 Apr 2013
Posts: 38
Location: sunshine coast australia
|
| Posted: Sun Jan 04, 2015 6:30 am Post subject: |
|
|
Gday all. happy new year to you all out there.
here are some pics of the front end to help out busyguyfish a fellow 4x4 builder


the Mitsubishi bevel box & steering rod to connect to Daewoo Rack


waterjet cut beam plates with extra 80mm's between the tubes for the different height in spindles

standard suspension note milk crate

with modified beam


brazillian mod to torsion tube

front end pretty agricultural

the next couple of pics are factory bay mule 4x4 to test syncro set up

rear tube set up for torsion bar
Tech drawing of drive

this says it all

spindle with cv in place
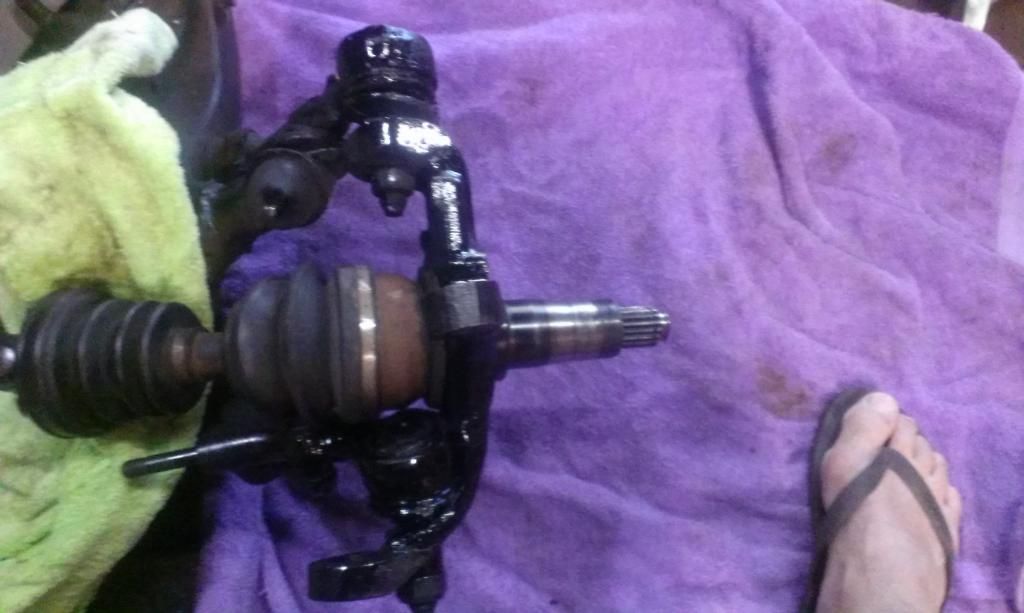
this is a bloke in Norway's mods using syncro stuff
note he has machined the bay stub axles to use some form of bearing carrier. this way it appears he has left the beam original spread


 |
|
| Back to top |
|
|
busyguyfish
Force Sensitive


Joined: 04 Jan 2015
Posts: 12
Location: Reno, NV, USA
|
| Posted: Fri Jan 09, 2015 5:40 pm Post subject: 4 by bay |
|
|
Changed the brouser on my computer and now I can see your photo's  . Sure helps to follow along. I believe the Rodeo splindle's are the key and that is a vehicle that is sold in the states. Good to see the set up. I'll keep you posted on the build.
I just picked up a SVX ($250  ) but I'm putting the EJ22 in for now. I well get the reverse ring and pinion and do the front mod's. and then swap in all the 4 by stuff and the bad boy motor. I've never seen the Brazilian rear torsion tube. Quite interesting but I'll modify mine to let the Subie 5 speed stick thru.
Steve
_________________
Been there, Done that, and still enjoying life
I can't believe I turn 70 this month!! how did that happen
My first Vw van engine swap- Corvair with a power glide 1967. 48 years ago!!!!! I've got to grow up |
|
| Back to top |
|
|
roverv8bay
Initiate Jedi
Joined: 14 Apr 2013
Posts: 38
Location: sunshine coast australia
|
| Posted: Fri Jan 09, 2015 10:12 pm Post subject: |
|
|
Happy New to you all. Picked up another freebie this week 2 turbo's so now to find a spot to fit them. pic when they arrive. this should help the slug 3.9
ernie |
|
| Back to top |
|
|
roverv8bay
Initiate Jedi
Joined: 14 Apr 2013
Posts: 38
Location: sunshine coast australia
|
| Posted: Sat Jan 10, 2015 7:32 am Post subject: |
|
|
G'day busyguyfish. there's someone acting as a sales agent for subarugears in the states with your dollar againsyt ours you would be better off getting the complete box with all the bits as a kit.
ernie |
|
| Back to top |
|
|
busyguyfish
Force Sensitive
Joined: 04 Jan 2015
Posts: 12
Location: Reno, NV, USA
|
| Posted: Sat Jan 10, 2015 9:11 pm Post subject: Your bay 4 by conversion |
|
|
I believe there is a state side vender for the gears. Since I'm running the box as a AWD I'm not sure there is a reason to buy a complete assembly as I can do the ring and pinion switch myself. I haven't searched yet for a system to make the tranny run rear output always (2 wheel drive) and have a decoupler similar to the VW syncro bus trans so the front only works when needed. That plus locking hubs up front would make a nice set-up.
Would you have the prints for the front axle mount you had water jetted with the measurements so I could have the same made here it town. I can figure them out but it would be helpful.
Steve
_________________
Been there, Done that, and still enjoying life
I can't believe I turn 70 this month!! how did that happen
My first Vw van engine swap- Corvair with a power glide 1967. 48 years ago!!!!! I've got to grow up |
|
| Back to top |
|
|
roverv8bay
Initiate Jedi
Joined: 14 Apr 2013
Posts: 38
Location: sunshine coast australia
|
| Posted: Sun Jan 11, 2015 1:25 am Post subject: |
|
|
G'day Steve. I have the cad drawings on email if you pm me your email address I will send them over to you they were drawn by Todd from Subaru gears. Have you had a look on the samba at David Clymer's build he is doing on subi to synchro. this is a good thread for rear engine type 4x4 set up you could use his ideas with my front set up using the subi rear diff in the front
ernie |
|
| Back to top |
|
|
roverv8bay
Initiate Jedi
Joined: 14 Apr 2013
Posts: 38
Location: sunshine coast australia
|
| Posted: Sun Jan 11, 2015 2:01 am Post subject: |
|
|
Back Steve. I looked at using a dog box 1 to 1 between the front shaft & gear box bur I haven't had time to see what affect it would have on the drive out of the box to the rear wheels. it would be easy to do using a Morse cable to shift into drive also this may save having to flip the front diff housing
ernie |
|
| Back to top |
|
|
roverv8bay
Initiate Jedi
Joined: 14 Apr 2013
Posts: 38
Location: sunshine coast australia
|
| Posted: Mon Jun 20, 2016 9:46 am Post subject: |
|
|
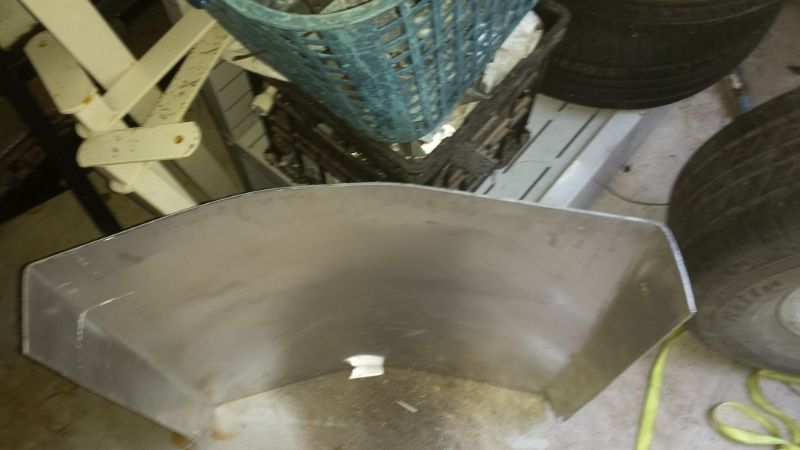
G'day all. Update time. I have been off the project doing some home reno's but slowly doing little jobs on ECLECTIC. I had to form my own floor tunnel for the transmissions as no metal shops would look at it. Made out of 3mm aluminium sheet. I started to get the basic curve by jacking the Subaru up & placing the sheet on 2 pieces of 4 x 4 timber & letting the jack down to force a curve using the tyre. then I had to fold both sides with a9cm tapering to 7cm edge. Once this was done I had to form the rear section to fill the gap in the floor & engine firewall. moving on then to the air intake for the engine I had stainless steel box so this will be mounted between the engine box & the right side panel with a bonnet scoop air will be forced into the box containing a K&N filter pod
start of folding the transmission cover.


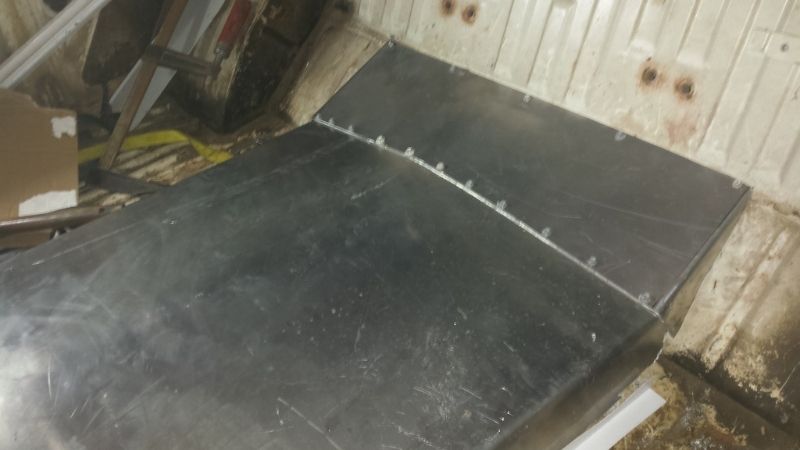
This is the cover needed to enclose the timing case dissy etc in the front of the engine box. It took a lot of figuring out the shape & curves in this one piece of aluminium. so cut fold curves all done on the trailer frame.
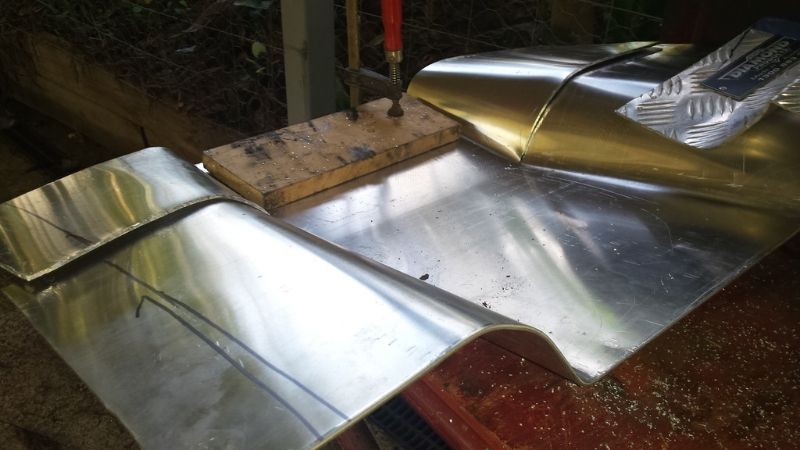

the cover is screwed to the seat walls for set up. It will be screwed to the engine box when finished.
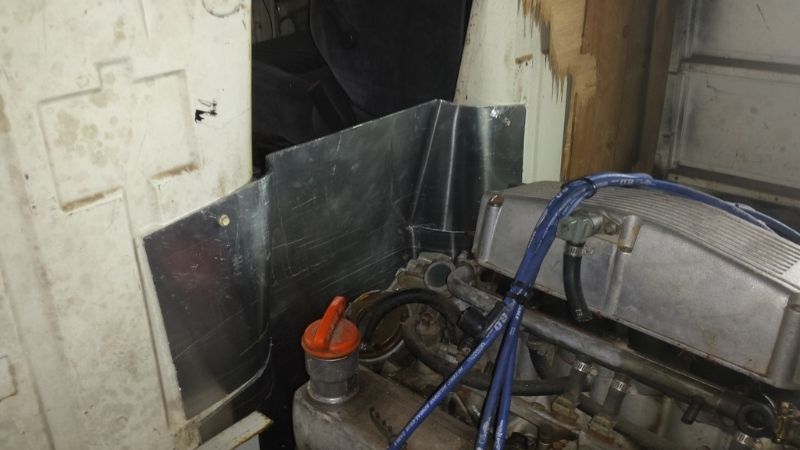
the top has to be filled in yet.

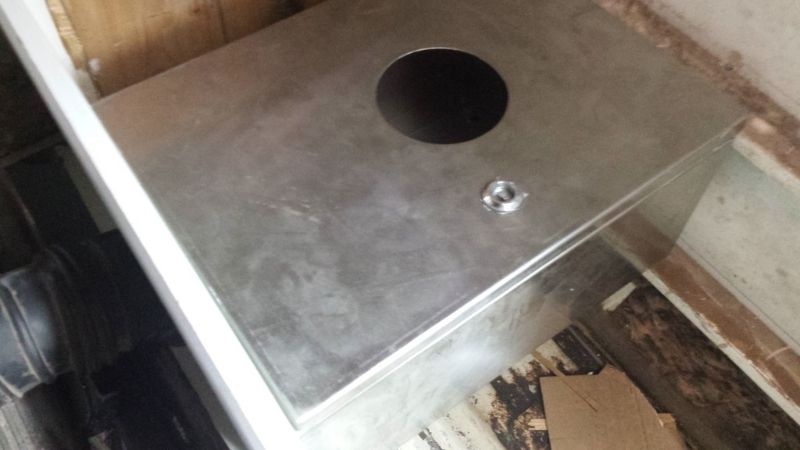
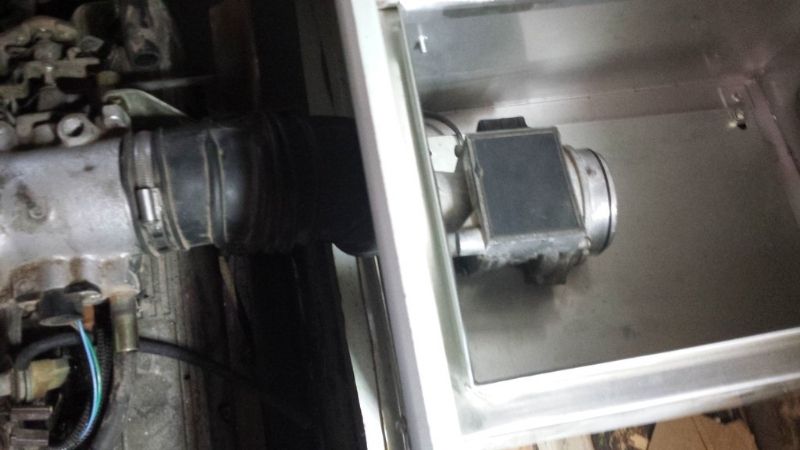
This is the airfilter AFM box it connects to throttle body by silicon hose & to the outside fresh air via a bonnet scoop mounted on the side bodypanel behind the drivers door.

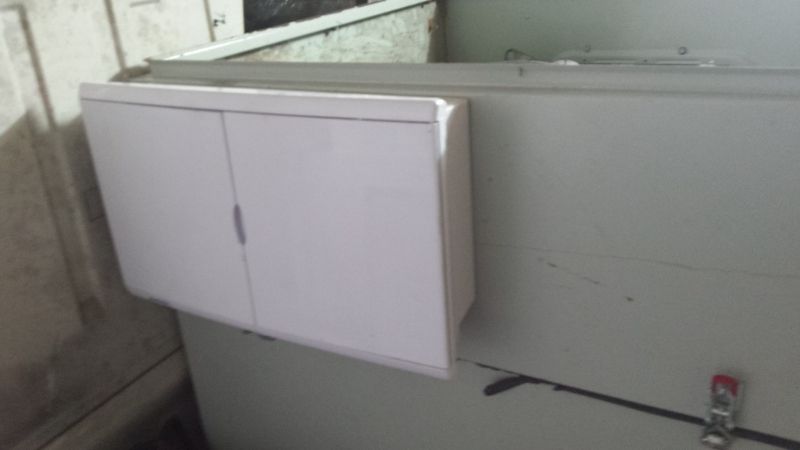
the ECU fuse boxes relays will be mounted in what was a 240v power board box
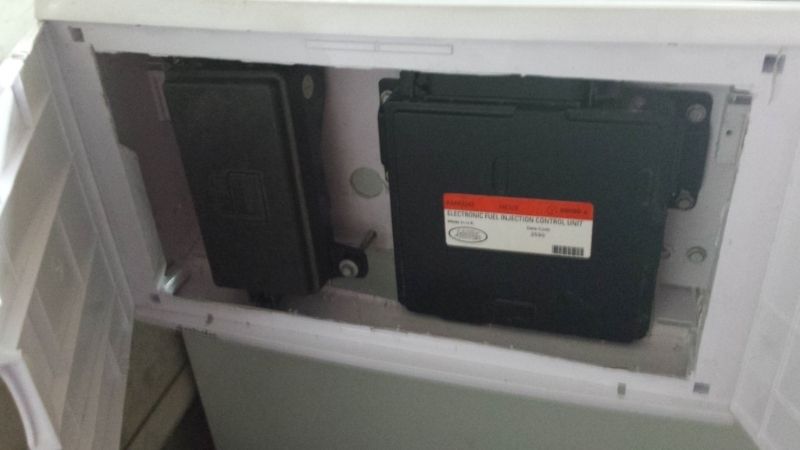
The wiring harness being shortened & unwanted wires deleted

this is the mount plate to weld to the beam tubes to support the Audi rack & pinion


This is the Range Rover long range fuel tank I have cut & flipped the cut out section to allow the tank to slide into the position of the original tank location. When I cut the tank I found the fuel pickup pipe was 3inches from the bottom & no filter on the end of it & no surge tank. It would be running low on fuel with 3 inches of fuel over the size still in the tank.
 |
|
| Back to top |
|
|
roverv8bay
Initiate Jedi
Joined: 14 Apr 2013
Posts: 38
Location: sunshine coast australia
|
| Posted: Mon Jul 04, 2016 11:04 am Post subject: |
|
|
G'day all. I sent the tank into have it welded up today. I had a new inlet cap machined to allow for a filter to be fitted to the pickup. Who ever built the tank hadn't fitted 1 to it & the pipe was 5cm's from the bottom of the tank.
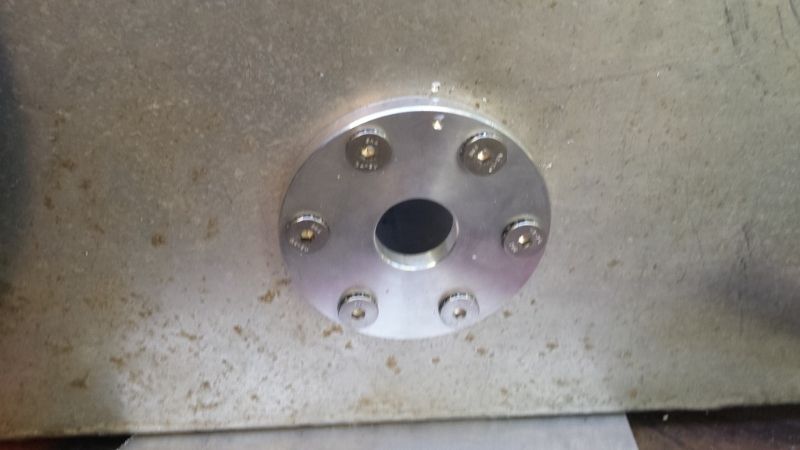
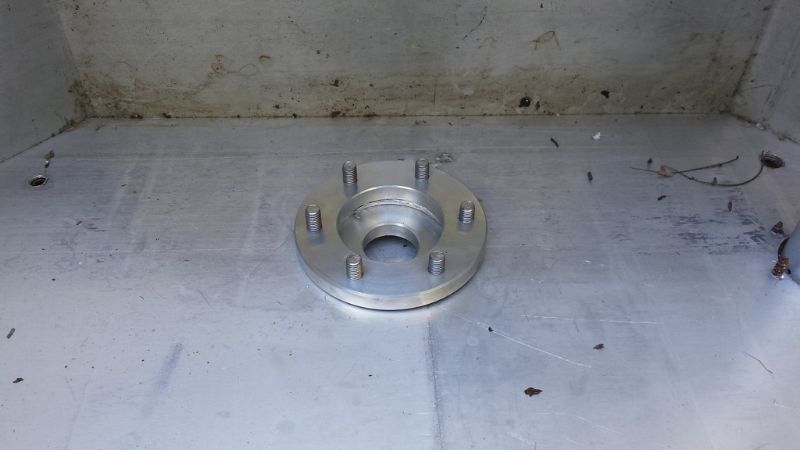
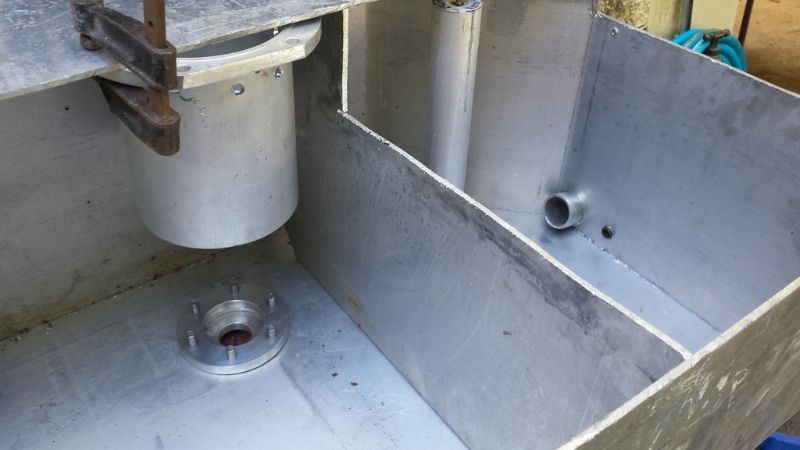
A little off topic I started setting up the Watts linkage & rear frame sections on my roverv8 trike.
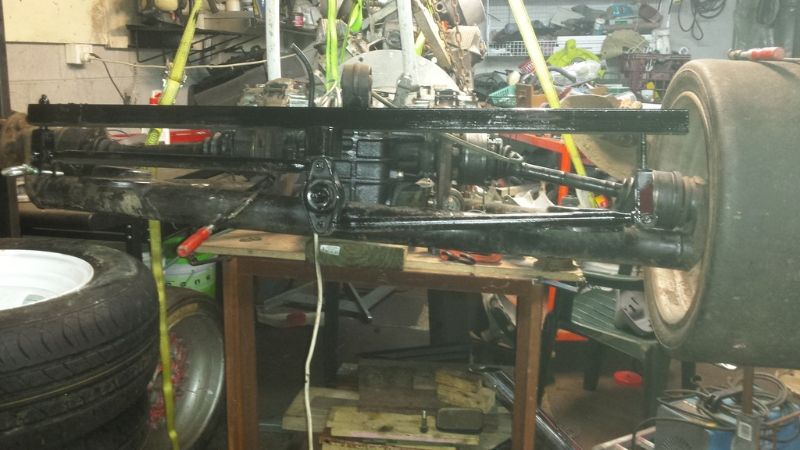 |
|
| Back to top |
|
|
roverv8bay
Initiate Jedi
Joined: 14 Apr 2013
Posts: 38
Location: sunshine coast australia
|
| Posted: Tue Dec 06, 2016 11:59 am Post subject: update |
|
|
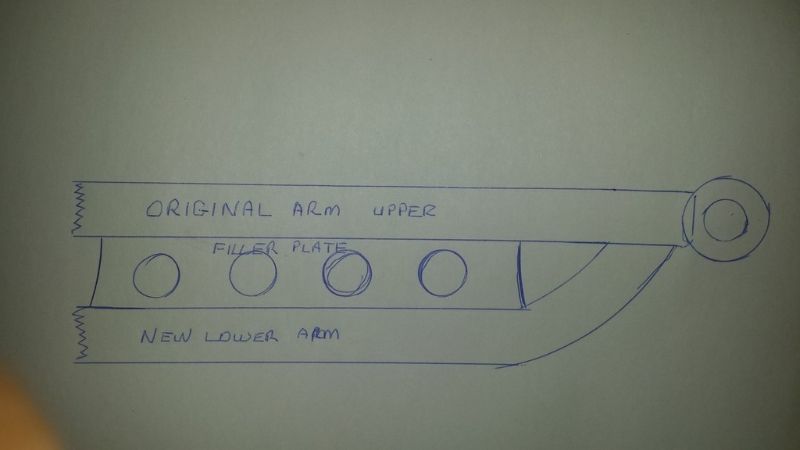
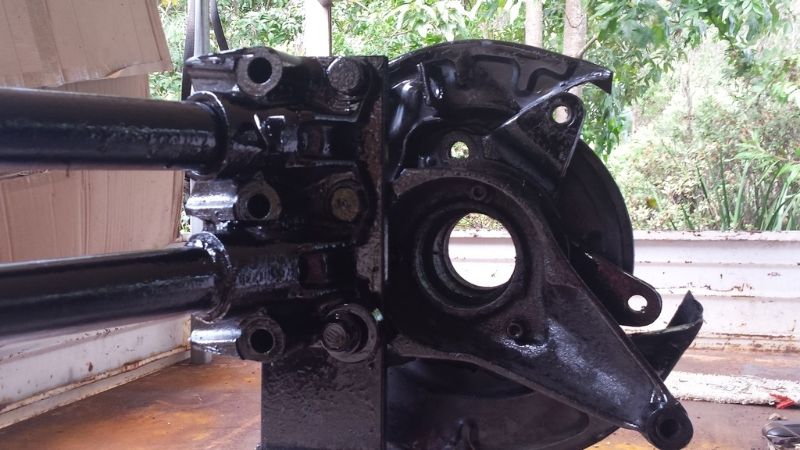
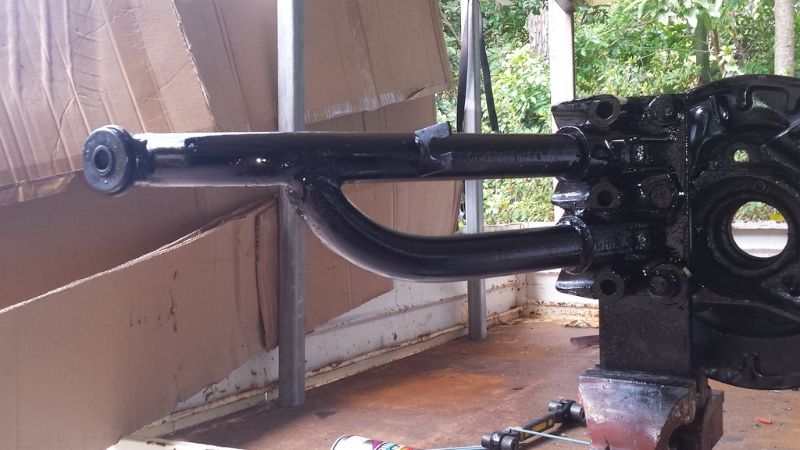
G'day all. hers a current update. I have been busy building the lift plates & double inner control arms for the inner rear suspension.
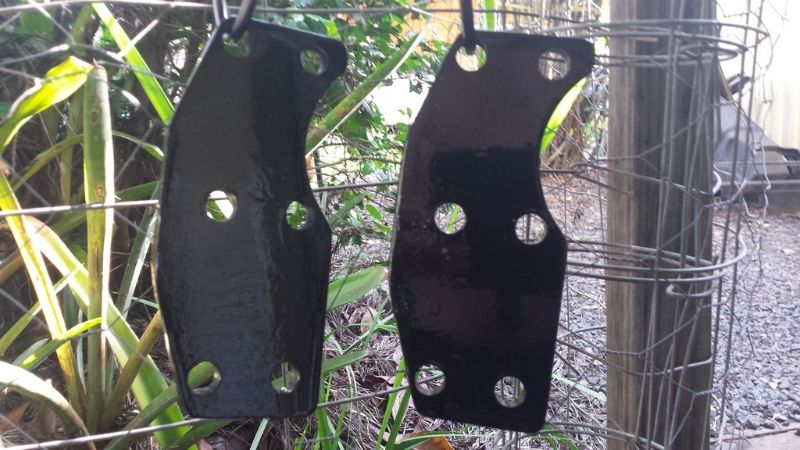
this is the start of the double inner arms
sketch of what I plan on using to strengthen the drop plates.
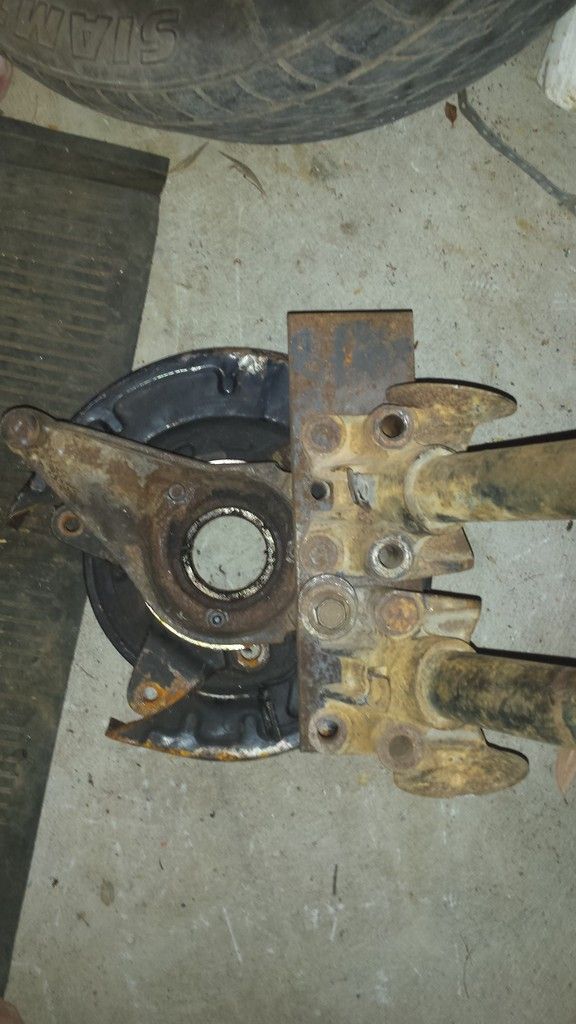
partially finished
 |
|
| Back to top |
|
|
Wilfred
Darth Admin

Joined: 13 Nov 2013
Posts: 366
|
| Posted: Thu Dec 08, 2016 6:43 am Post subject: |
|
|
Nice updates!
_________________
1973 BayWindow running 1.9 110 bhp TDI with flipped gearbox. |
|
| Back to top |
|
|
|


 FAQ
 Search
 Memberlist
 Usergroups
 Register
 Profile
 Log in to check your private messages
 Log in


